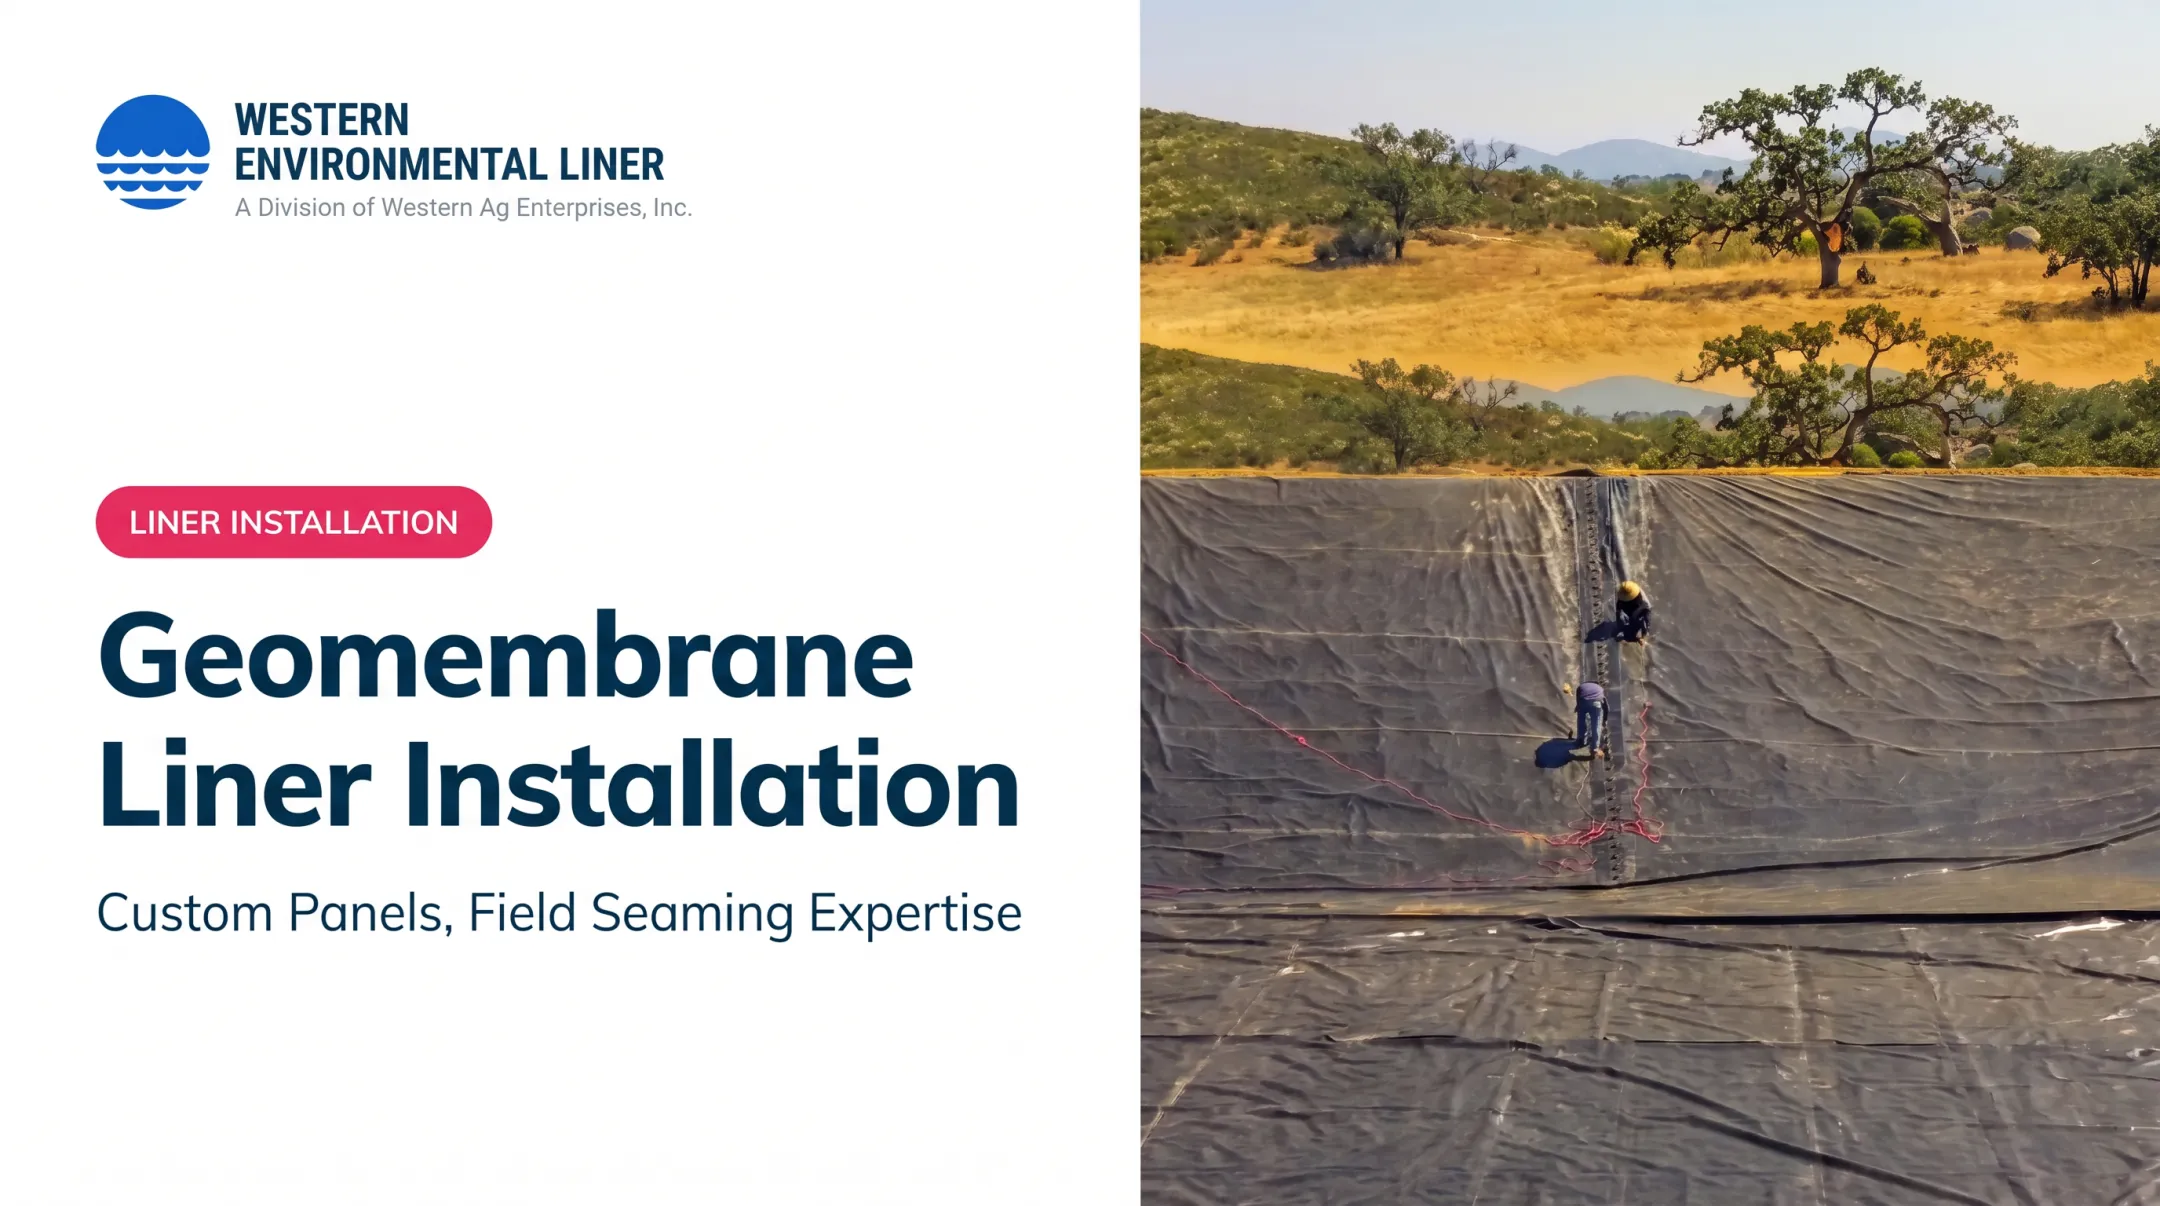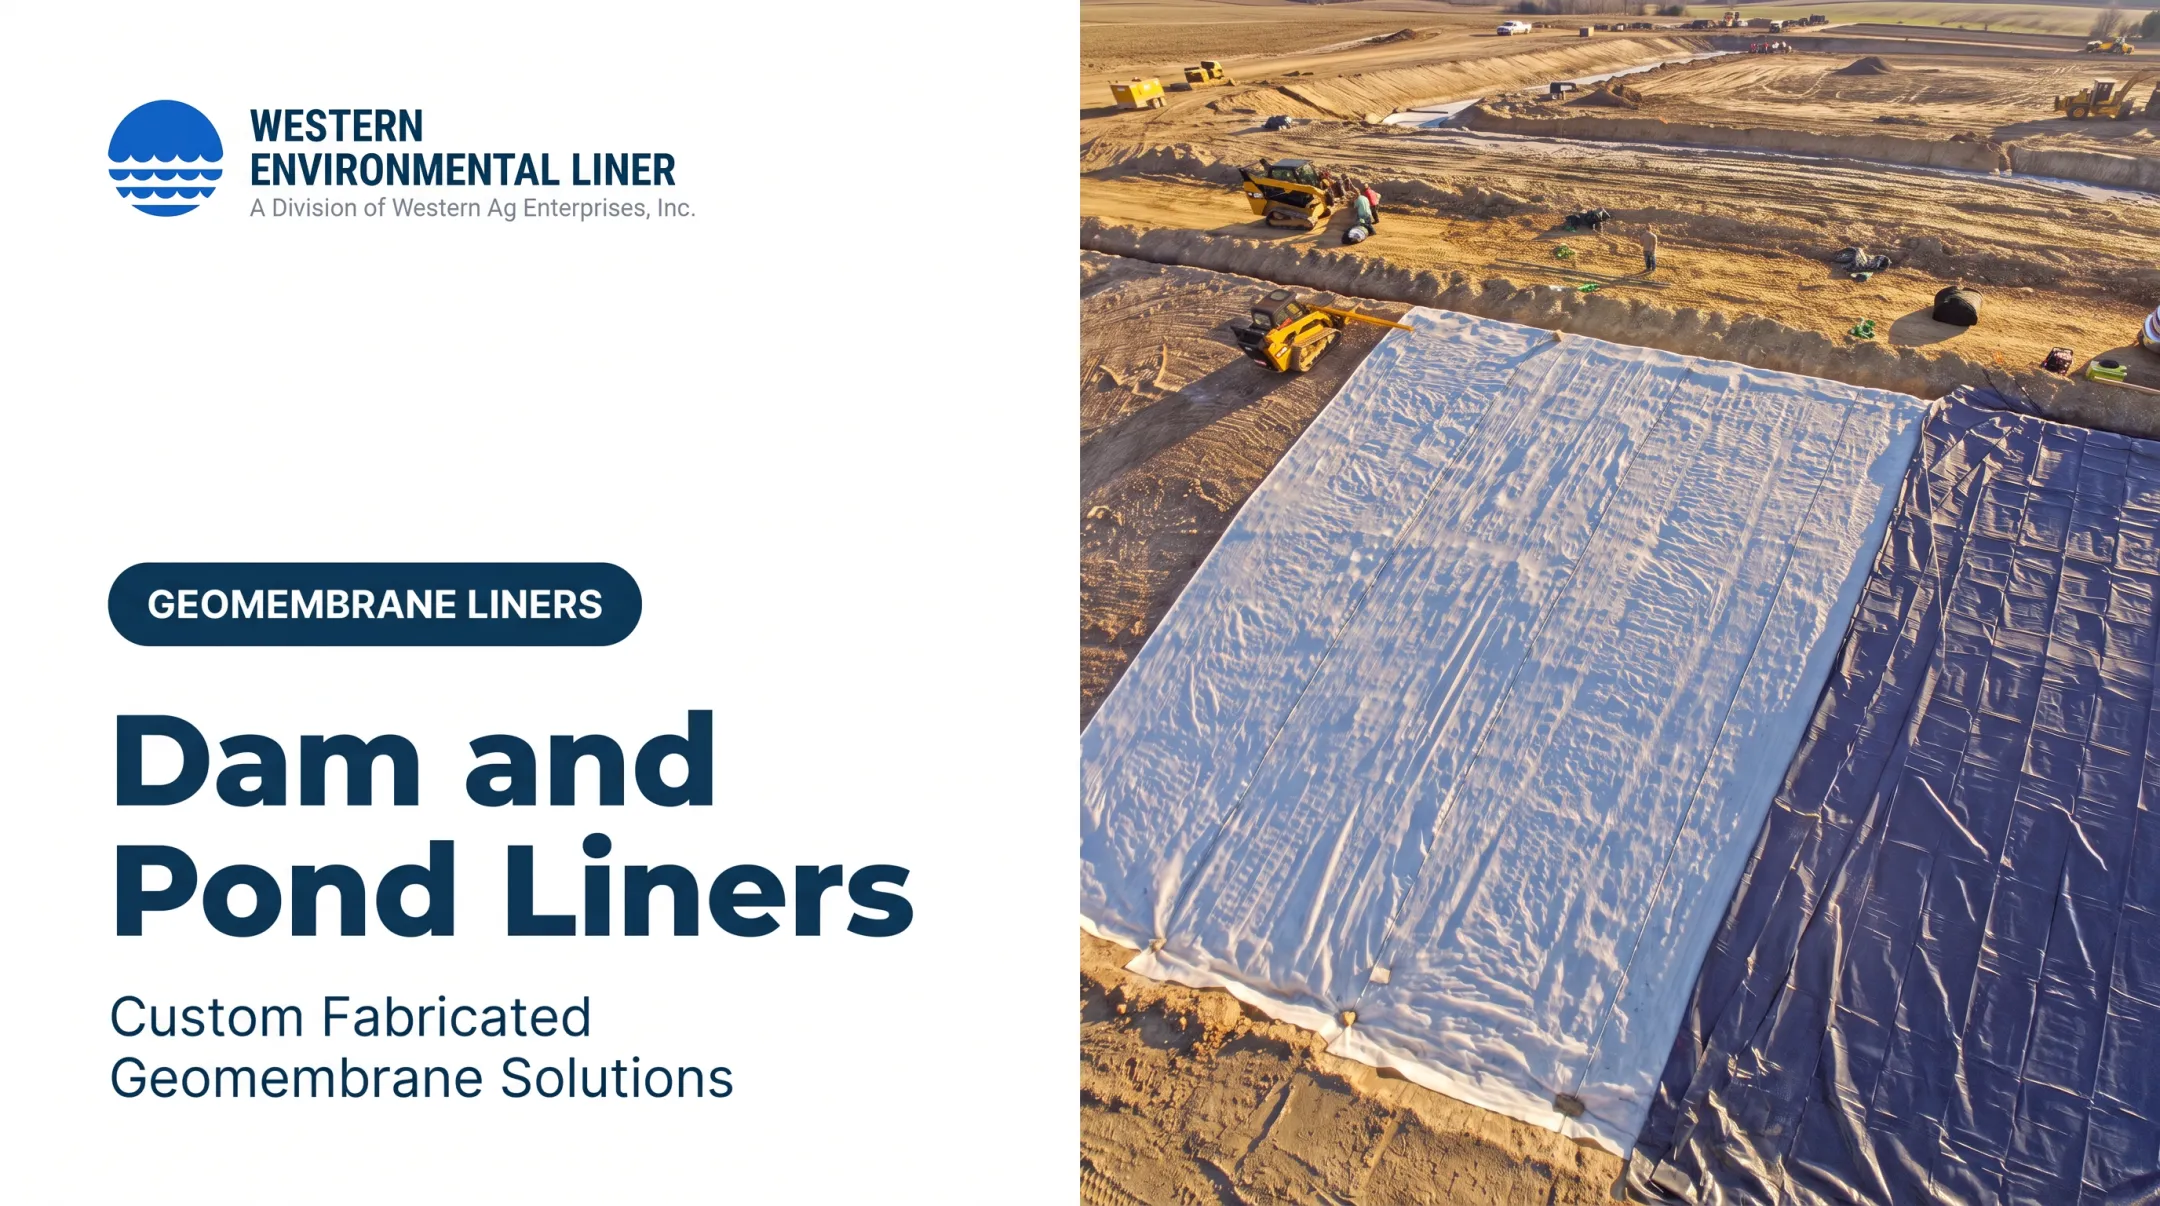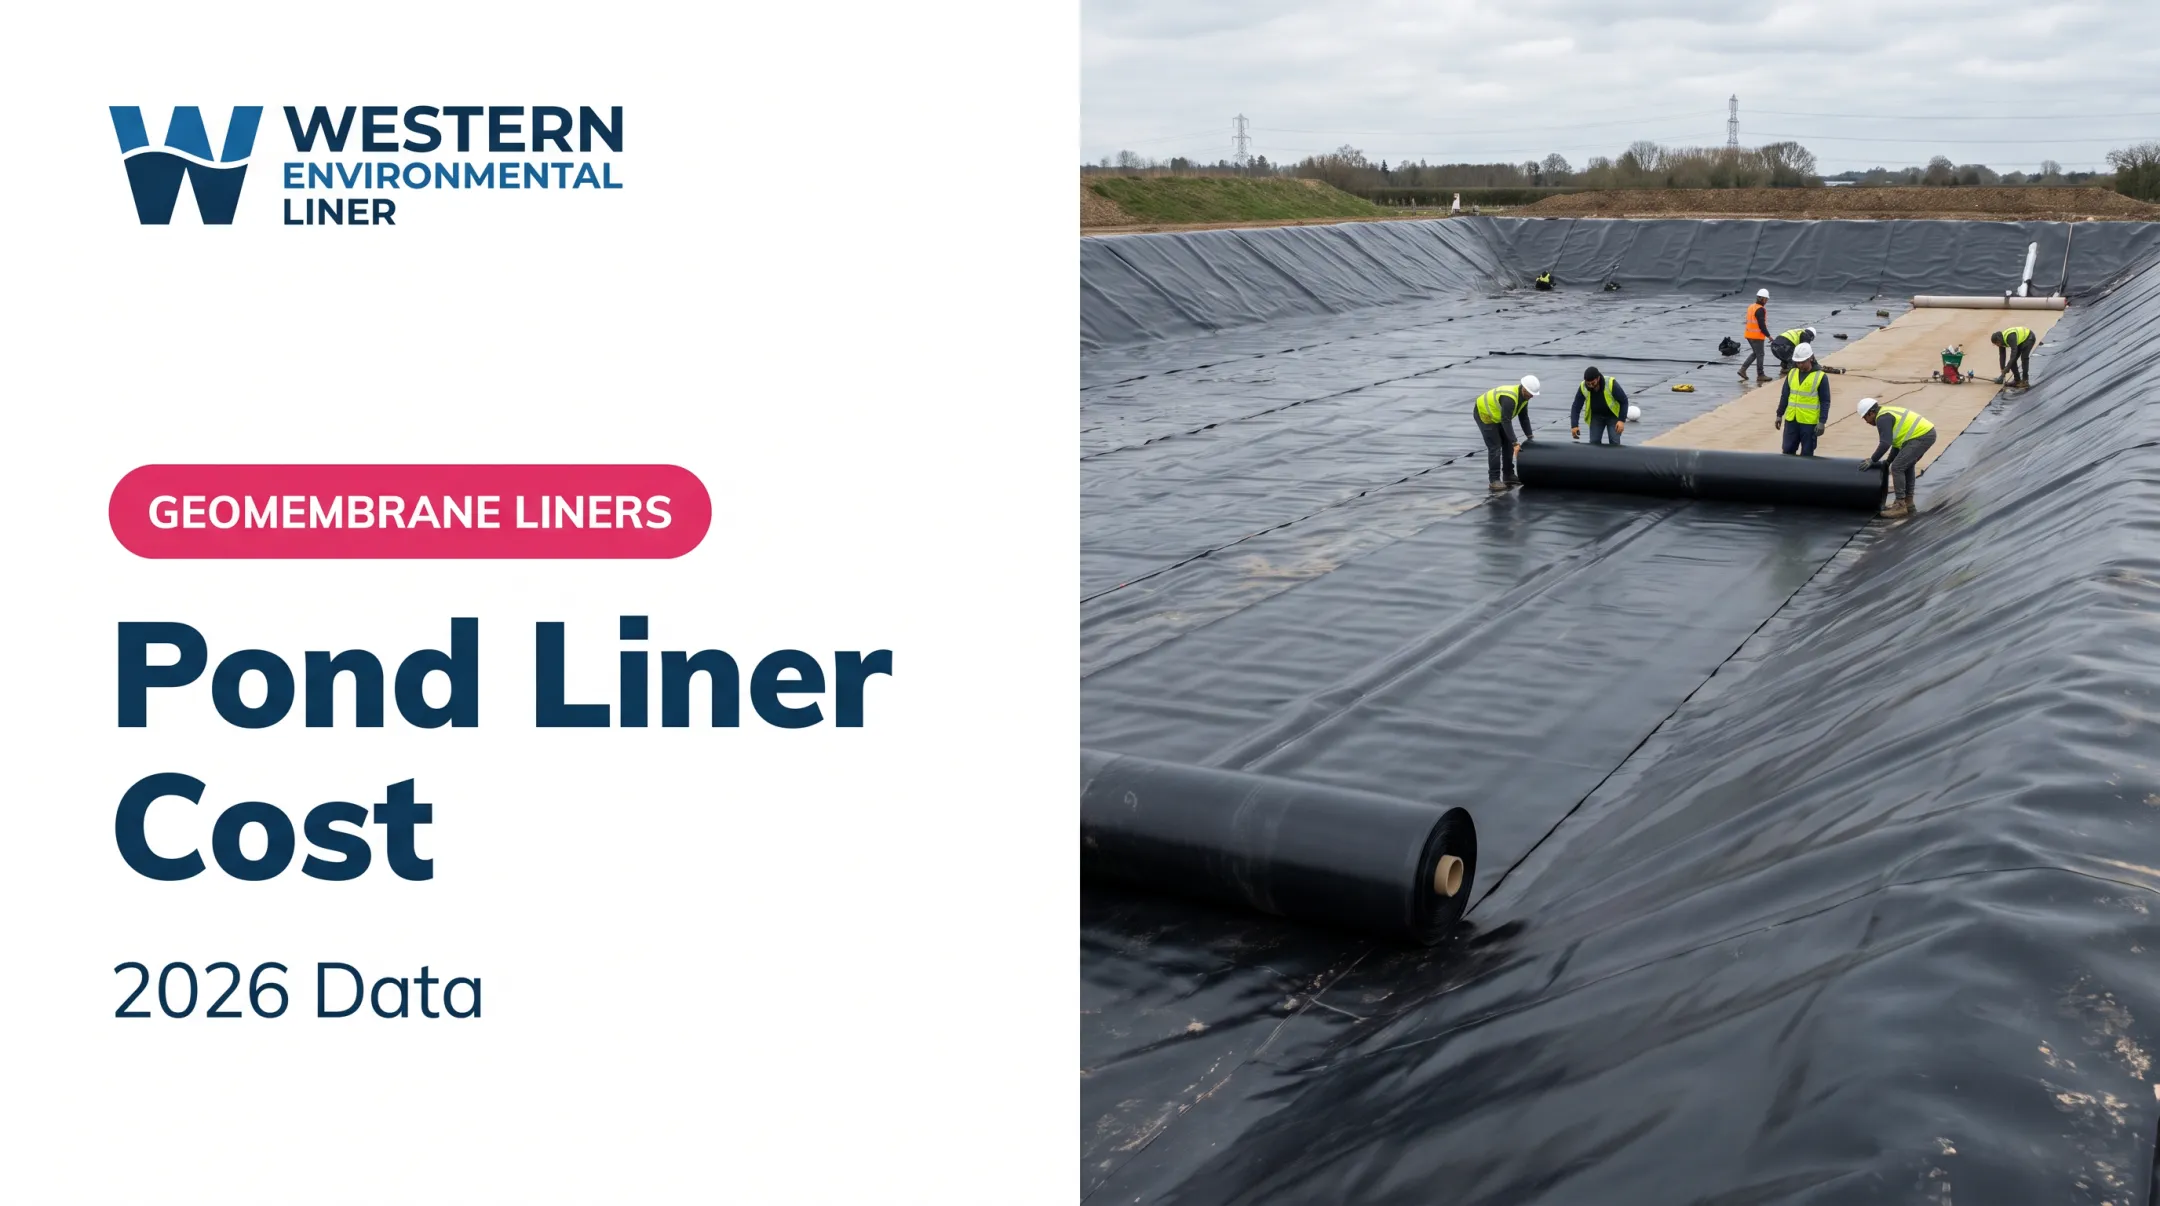

Trained geomembrane installers, qualified earthwork contractors, or experienced in-house crews can do the work. Ponds with multiple panels, steep slopes, groundwater concerns, or liquid containment requirements generally need specialist oversight.
The cost of getting it wrong is steep. A 2024 case-history study of 195 pond projects found 1,230 leaks across 322 hectares. Punctures, wrinkles, seam failures, uplift, and rework can also put warranties and compliance at risk. This guide covers preparation, deployment, integration, testing, and handoff.
Key Takeaways
- Finish the subgrade, drainage plan, anchor trench, and access before the liner arrives.
- Match liner material, thickness, and panel layout to the liquid, soil, and UV exposure.
- Deploy in good weather with rated lifting equipment, enough crew, and ballast ready.
- Treat seams, penetrations, anchoring, testing, and records as core work, not finishing touches.
Installation Guide for Large Pond Liner Installation
The workflow runs in this order: site and subgrade preparation, staging, liner placement, seaming and integration, perimeter anchoring, controlled filling, and quality validation.

Expect to coordinate the owner, earthwork team, liner manufacturer, installation crew, inspectors, and any engineers or regulators. Exact sequencing should follow the approved design and the manufacturer's instructions.
Prerequisites and Safety Considerations
Subgrade and Site Readiness
Remeasure the finished excavation and compare it with the liner drawings before unloading anything. Confirm final dimensions, slopes, grades, access routes, and a stable, compacted subgrade.
The surface should be flat, smooth, dry, and free of rocks, roots, vegetation, and debris. Western Environmental Liner does not do earthwork, so the owner or site contractor must complete subgrade preparation first.
Cushioning matters when the subgrade can't be cleaned up:
- NRCS criteria call for a cushion where angular particles exceed 3/8 inch: either nonwoven geotextile of 10 oz/yd² or heavier, or at least 6 inches of suitable soil.
- Western Environmental Liner recommends at least 6 inches of compacted bedding above the highest obstruction.
- Geotextile underlayment comes in 8, 12, and 16 oz; 8 oz is the most common.
Groundwater, Gas, and Compatibility
Check the water table, flooding history, and potential gas buildup. NRCS requires drainage where the pond is prone to groundwater uplift and the invert sits within 2 feet of the seasonal high water table.
Without drainage or venting, liners can balloon into "whales" even when intact.
Verify that the liner suits the liquid, temperature range, UV exposure, and any fish or agricultural use. Rely on the project specification and manufacturer data, not a universal material choice.
Weather and Job-Site Safety
Postpone for any of these:
- High winds, active rain, or lightning
- Standing water or a muddy, unstable subgrade
- Inadequate access for lifting equipment
- Unsecured excavation edges
- No site-specific safety plan
IAGI polyethylene guidance also requires approval for deployment below 32°F (0°C) material temperature.
Verify local rules, but OSHA's federal standards typically apply:
- Excavations 5 feet or deeper generally need cave-in protection; trenches 4 feet or deeper need safe egress.
- Fall protection applies at edges 6 feet or more above a lower level.
- Rigging must be inspected before each shift, and the crew must stay out of suspended-load fall zones.
- Construction stormwater permits apply at 1 acre or more of disturbance.
Tools and Parts Required
Core Materials and Handling Equipment
- Fabricated geomembrane liner and specified underlayment
- Anchor-trench materials
- Sandbags or approved ballast
- Measuring and marking tools
- Radios, clean soft-soled footwear, gloves, and PPE
Large rolls can weigh 8,000 lbs or more, so plan for a forklift, loader, crane, lift gate, or other rated equipment. Lift from inside the core with a carpet puller. Lifting under the core will likely damage the liner. Follow the manufacturer's unloading instructions.
Seaming and Testing Equipment
Seaming gear depends on the material. HDPE and LLDPE use thermal wedge or extrusion welders, PVC uses thermal or approved chemical methods, and EPDM uses manufacturer-specific splice systems.
Add calibrated temperature controls, seam test tools, patch material, and documentation forms. Use substitutes only when the manufacturer or quality plan approves them.
Delivery and Storage
- Inspect the pallet, core, wrapping, and liner before signing for the shipment.
- Photograph any defects. Signing first makes shipping damage hard to prove.
- Store on a clean, level surface away from traffic.
- Limit exposure to sunlight, heat, and moisture.
How to Install a Large Pond Liner (Step-by-Step)
- Review the layout. Check fold direction, panel labels, arrows, weld locations, and penetrations. Western Environmental Liner supplies panel layouts and unrolling directions for multi-piece liners.
- Recheck the pond. Confirm the anchor trench, underlayment, drains, pipes, sumps, and overflow structures are finished and unchanged.
- Position and deploy. Stage the package with enough people and equipment, then unroll gradually. Never drag the liner over sharp surfaces. Unroll a cored liner from the end, not the center; crews of at least 6 are typical for supervised installs.
- Leave it slack. A liner pulled tight can't lie flat and risks tearing during filling. Control edges with sandbags, and avoid concentrated loads.
- Weld only with the right procedure. Keep weld surfaces clean and dry, control overlap, and run trial welds. One manufacturer manual requires re-qualifying at least every four hours. Complex field welding belongs to trained technicians.
- Seal the penetrations. Pipes, inlets, outlets, and sumps are common leak points. Use custom pipe boots or mechanical batten connections designed for your liner material.
- Anchor the perimeter. Once alignment and tension are right, secure the liner in the trench. Western Environmental Liner cites trenches 6-30 inches wide and 4-24 inches deep, with earthen trenches at least 1 foot by 1 foot. Round the corners and keep the trench free of ponded water.
- Fill in stages. Watch for movement, wrinkles, uplift, seepage, and perimeter stability. Stop and fix anything abnormal.
Post-Installation Checks and Validation
Inspection and Seam Testing
Walk the exposed liner and inspect for:
- Punctures, cuts, and blisters
- Wrinkles and surface contamination
- Stretched or unsupported areas
Test seams using methods suited to the construction. Don't treat one test as universal:
- ASTM D5820 air channel: checks continuity of dual-track seams, not strength.
- ASTM D5641 vacuum chamber: finds leaks in seams and patches.
- ASTM D6365 spark test: checks seams with conductive material.
- ASTM D6392 peel and shear: destructive test for nonreinforced thermal seams.
- ASTM D7747: peel and shear testing for reinforced thermal seams.
- ASTM D7002 and D7007: electrical leak location methods for exposed and covered liners.
Interfaces and Records
Check drains, penetrations, overflow routes, anchors, and venting layers for leaks, movement, trapped water, or uplift.
Document these items for warranty claims, regulatory review, and troubleshooting:
- Panel locations and material certificates
- Delivery inspection and welding parameters
- Seam logs, test results, and repairs
- Photos and as-built changes
Don't cover, permanently ballast, fill completely, or release the pond until failed areas are repaired, retested, and formally accepted.

Common Installation Problems and Fixes
Liner Shifts, Folds, or Becomes Difficult to Control
- Problem: Panels move, bunch up, or develop damaging folds.
- Likely causes: Wind, too little ballast, wrong orientation, over-tightening, or a subgrade that doesn't match the plan.
- Fix: Pause, secure the material, find the cause, and reposition without dragging. Get manufacturer or installer guidance first.
Punctures, Tears, or Surface Damage Appear
- Problem: Damage before filling, or a leak after.
- Likely causes: Sharp rocks or roots, thin underlayment, dragging, equipment traffic, or unsuitable footwear.
- Fix: Mark the damage, repair with a compatible method (IAGI's polyethylene patch detail extends at least 6 inches beyond the defect), then retest before covering.
Seams Fail or Water Collects Beneath the Liner
- Problem: A seam fails testing, or groundwater or gas lifts the liner.
- Likely causes: Wrong welding parameters, moisture or debris at the seam, poor overlap, or missing drainage and venting.
- Fix: Stop work, locate the failure, re-weld and retest, and correct the underlying pressure problem rather than only the visible symptom.
Pro Tips for Installing a Large Pond Liner Effectively
- Plan the weather window. Schedule delivery, deployment, seaming, and first filling together. Never leave a liner unsecured overnight.
- Write a handling plan. Cover equipment paths, roles, fold direction, ballast locations, emergency tie-downs, and a stop-work procedure.
- Use factory-fabricated panels where possible. Field welding is a leading cause of liner failure, and one-piece panels cut the number of field seams. The layout still needs professional review.
- Bring in a specialist. Use one for large areas, multiple field seams, steep or irregular geometry, pipe penetrations, groundwater pressure, containment duties, or formal quality assurance requirements.
Western Environmental Liner provides custom geomembrane fabrication for projects over 10,000 square feet and one-piece liners up to 150,000 square feet. The company also offers turnkey installation through an IAGI-certified installation contractor and can supervise a customer's own crew.

Allow 3-4 weeks for fabrication and coordination. Request project-specific guidance, but keep engineering review in place.
IAGI's polyethylene certification requires documented experience of at least 90,000 m² (about 970,000 sq ft) across five jobs, a useful benchmark when vetting crews.
Conclusion
A large pond liner performs only when the site, material, deployment, seams, interfaces, anchoring, and validation are treated as one containment system.
Keep the full system in view from start to finish:
- Prepare the subgrade carefully
- Avoid bad weather and rough handling
- Follow manufacturer requirements
- Document every check
- Bring in trained professionals when size or complexity outruns your crew's experience
Frequently Asked Questions
Can I put a new pond liner over an old one?
Only after assessing the old liner for compatibility, wrinkles, trapped water, damage, and support. Get manufacturer or installer approval first, since no general procedure applies across materials.
How thick is a good pond liner?
It depends on pond size, subgrade, puncture risk, liquid, UV exposure, and reinforcement. Follow the engineered specification and manufacturer data. For reference, NRCS CPS 521 sets 30 mil minimums for HDPE clear-water ponds.
How do you install a large pond liner?
Prepare the site and underlayment, receive and deploy the liner, seam and seal penetrations, anchor the perimeter, fill in stages, then inspect and test.
Do large pond liners need an underlayment?
Often, when the subgrade poses puncture, abrasion, drainage, gas, or pressure concerns. Choose a system that suits both the liner and the site.
Can I install a large pond liner myself?
Small ponds, maybe. Large projects involve heavy panels, lifting equipment, field welding, penetrations, groundwater, and quality testing, so use trained installers.
How do you secure a pond liner around the edges?
Use an anchor trench or engineered termination, with temporary ballast during deployment. Keep proper slack and alignment, and bury edges so UV doesn't degrade them.