
Introduction
Installing an HDPE geomembrane is not just rolling out plastic and joining the edges. Containment performance depends on subgrade quality, panel handling, seam consistency, weather, anchoring, penetrations, and documented testing.
Quality control matters more than most owners expect. In a leak detection study of 2.0 mm HDPE, sites with construction quality assurance (CQA) and a pre-cover survey averaged 0.2 leaks per hectare. Sites without both averaged 15.6.
Owners and contractors can coordinate the work. Panel welding, extrusion details, testing, and complex terminations belong with trained technicians. This guide walks through the full process, from preparation to final validation.
Key Takeaways
- Follow a fixed sequence: site readiness, subgrade, deployment, welding, details, testing, protection, records.
- Use hot-wedge welding for long straight seams and extrusion for repairs, corners, and penetrations.
- Hold welding until subgrade, weather, trial seams, and safety controls are ready.
- Test and document every seam before covering the liner.
Installation Guide for HDPE Liner Welding and Geomembrane Installation
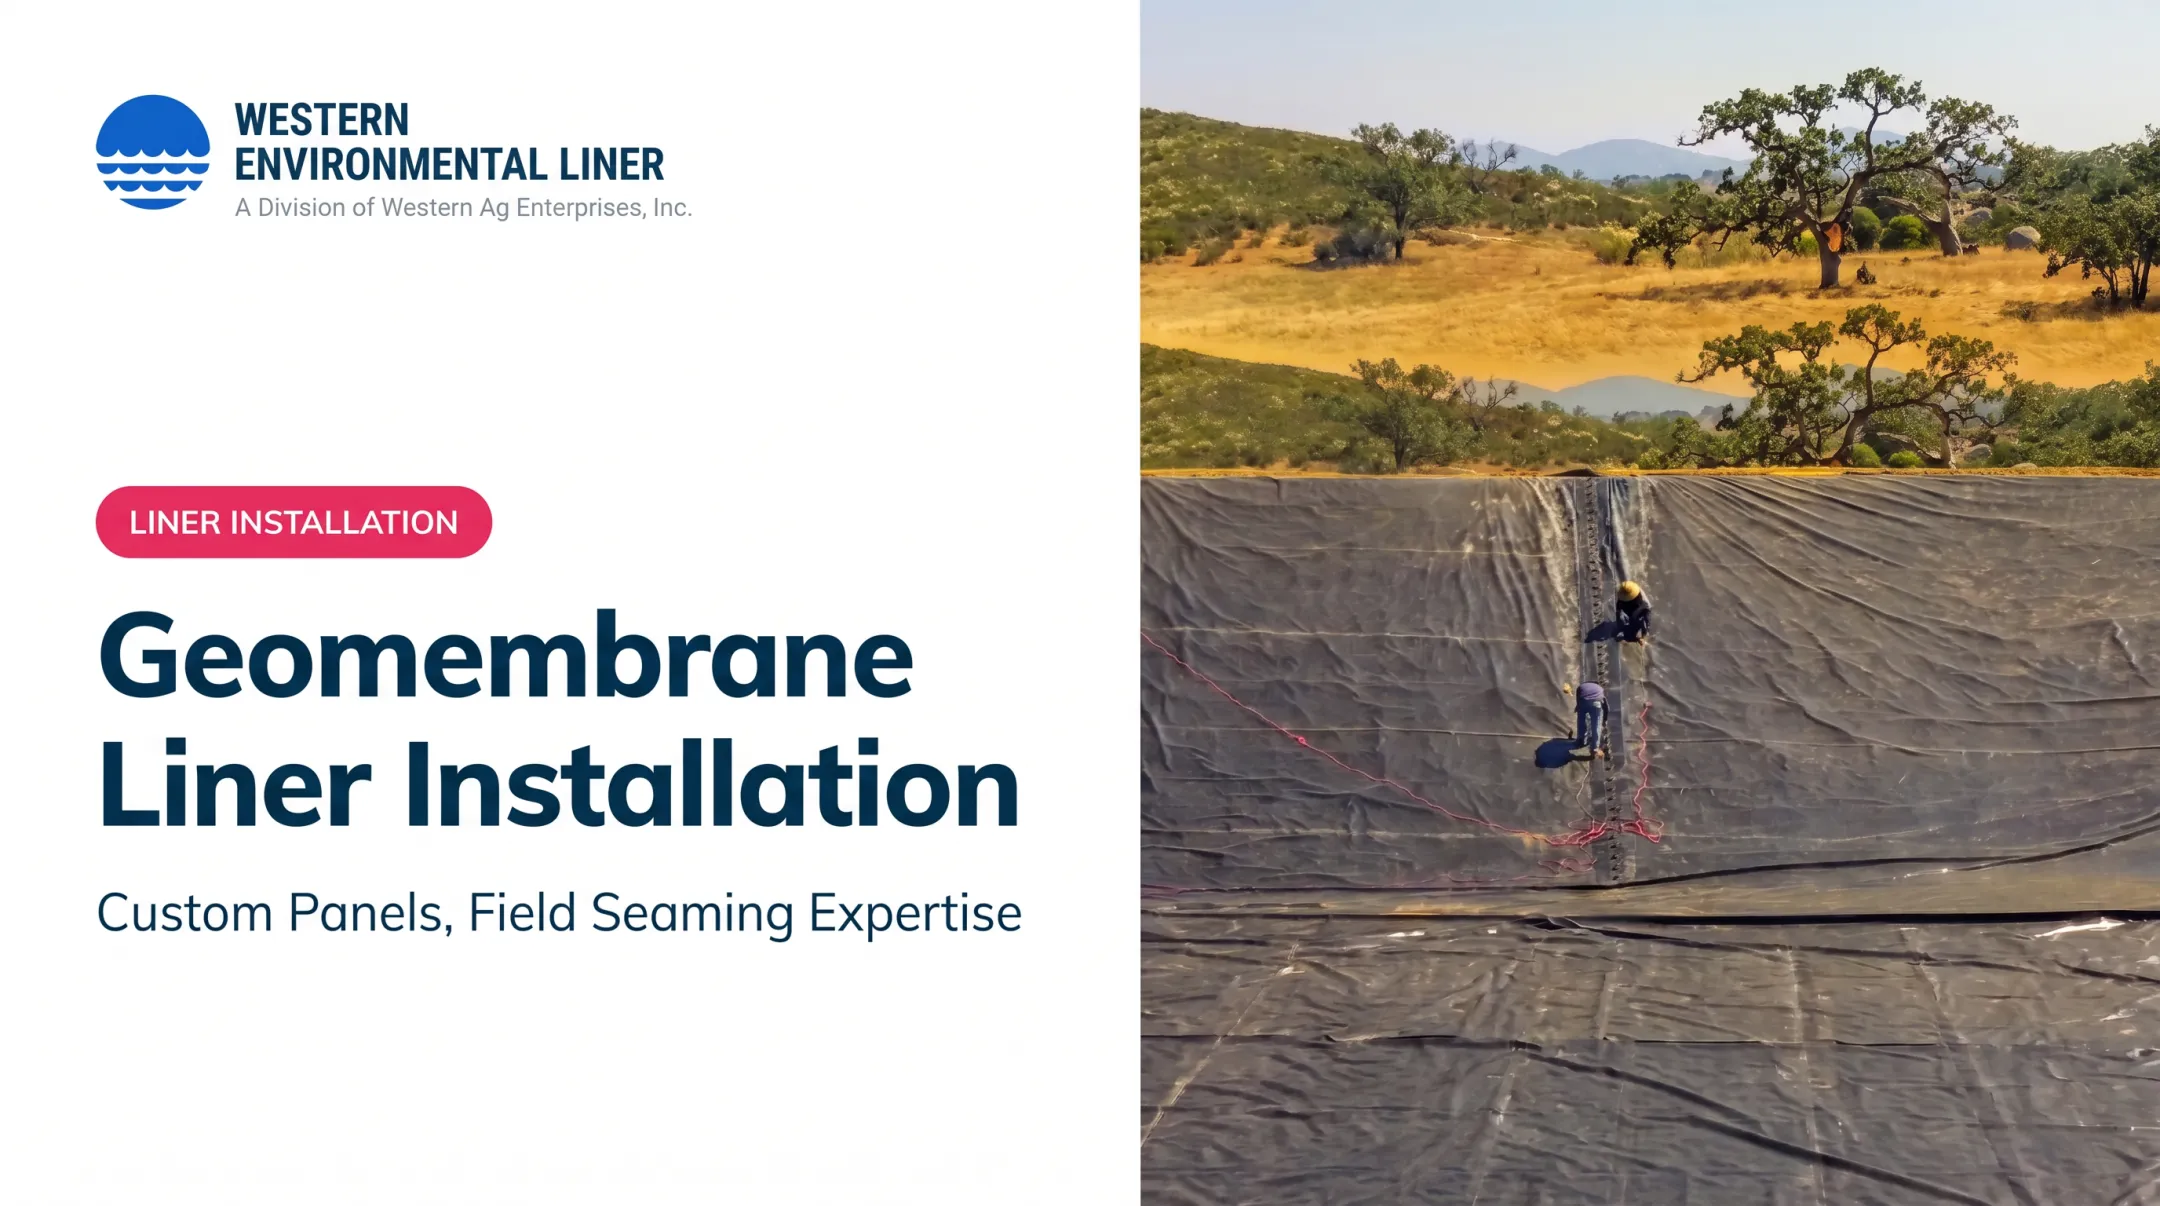
Installation runs as one coordinated process: preparation, delivery and deployment, alignment, welding, details, testing, protection, and sign-off. Schedule and crew size depend on site geometry, liner thickness, weather, access, and how much field welding is required.
Prerequisites and Safety Considerations
Before mobilization, confirm these are in place:
- Approved drawings and panel layout
- Finished subgrade, anchor trenches, and drainage or gas-relief provisions where required
- Penetrations, structures, and underlayment ready
- Access routes, lifting equipment, and power
- A project-specific CQA plan
Western Environmental Liner does not do earthwork, so the area must arrive dry, trenched, and free of rocks, roots, debris, voids, and protrusions.
NRCS standard 521 calls for no standing water, mud, vegetation, snow, or frozen subgrade at placement. If the subgrade can't meet the spec, use at least 6 inches of compacted bedding above the highest obstruction.
Material compatibility checks:
- HDPE resin and thickness
- Chemical or liquid exposure
- Expected temperatures and UV exposure
- Geotextile and underlayment requirements
- Manufacturer and engineer instructions
Hazards to plan for:
- Heat: acclimatize new workers over their first 1-2 weeks
- Electrical: GFCIs or an assured grounding program on generators and cords (29 CFR 1926.404)
- Rigging: inspect before each shift (29 CFR 1926.251)
- Slopes and wind: secure large panels and limit equipment traffic on the liner
Stop work when:
- Rain or standing water reaches seam areas
- Surfaces are damp or contaminated
- Wind is excessive or slope access is unsafe
- Material is damaged or a trial weld fails
Tools and Parts Required
Welding and handling:
- Automatic hot-wedge welder for long seams
- Handheld extrusion welder and rod for details and repairs
- Hot-air tools for approved tacking
- Generators, sandbags, knives, grinders, measuring tools, cleaning materials, and heat-resistant stands
Quality control:
- Air-channel kit for double-track seams (ASTM D5820). It checks continuity, not strength.
- Vacuum box for extrusion welds (ASTM D5641)
- Calibrated tensiometer for peel and shear tests (ASTM D6392)
- Spark testing only where the liner includes a conductive element
Trained operators must run the welders and testers. Don't substitute roofing torches or uncalibrated gauges. Take temperature, speed, and pressure settings from the liner manufacturer, the equipment manual, the engineer, and the project specs. No universal setting exists.
How to Install HDPE Liner Welding and Geomembrane Systems
How to Install HDPE Liners and Geomembrane Systems
Follow the approved layout and sequence. Dragging material, welding over contamination, skipping trial seams, or covering untested work creates failures that are hard to find later.
Step 1: Prepare the Site
- Clear vegetation, roots, rocks, sharp objects, debris, and standing water
- Reach specified grade and compaction
- Check for settlement or protrusions
- Place geotextile where required (8 oz is the most common)
- Finish anchor trenches, sumps, pipes, and structural interfaces
Step 2: Deploy Panels
Unload and unroll without dragging or puncturing. Hold the specified overlap and control wrinkles and tension.
Per the IAGI model specification:
- Deploy only what can be anchored and seamed that day
- Keep ordinary vehicles off the membrane
- Secure panels with sandbags if wind picks up, then wait it out
Step 3: Choose the Seam Method
- Use automatic hot-wedge fusion for continuous seams
- Use extrusion for patches, corners, penetrations, pipe boots, anchor details, and repairs
Material, thickness, seam geometry, and specs make the final call.

Step 4: Run Trial Welds
Clean and dry the seam zone and check the machine. Make trial welds on project liner, then adjust per results. IAGI guidance calls for trials at the start of each seaming period, at least every 4-6 hours, and again when conditions change.
Step 5: Weld Production Seams
- Keep overlap and alignment consistent
- Watch the seam and machine through the whole pass
- Keep wrinkles and dirt out of the weld path
- Identify each seam and log operator, equipment, conditions, and interruptions
Step 6: Finish Details
Handle corners, pipes, sumps, anchor trenches, and concrete with approved boots, patches, or extrusion details. Avoid sharp folds. Protect finished seams from traffic, tools, and ballast.
Post-Installation Checks and Validation
Inspect the entire surface and every seam before cover or liquid goes on. Look for:
- Holes, cuts, tears, and blisters
- Contamination and incomplete fusion
- Fishmouths and wrinkles trapped in seams
- Damaged edges and defective terminations
Then test:
- Air-channel testing on dual-track seams
- Vacuum-box testing on extrusion details
- Destructive peel and shear samples per the CQA plan
IAGI's model spec calls for nondestructive testing of all field seams over their full length. Its sample interval is one destructive sample per 500 linear feet, though your spec governs.
Judge results against the project specification and current standards, not an assumed pass value. Mark failures, repair by an approved method, and retest.

Final documentation package:
- Panel and seam map
- Weld logs and trial-weld records
- Calibration and test records
- Repair locations
- Inspection sign-offs and as-built changes
- Photos where required
Get written approval before backfilling or covering.
Common Installation Problems and Fixes
Most defects trace back to handling, surface prep, shifting weather, wrong settings, weak operator control, or skipped testing. Repair by approved procedure and retest. Never just cover it.
Incomplete Fusion, Overheated Seams, or Inconsistent Beads
- Problem: Seams peel early, look burned or thinned, show gaps, or fail testing.
- Cause: Wrong temperature, speed, or pressure, dirty surfaces, misalignment, worn equipment, or changing ambient conditions.
- Fix: Stop production, isolate the seam, run a new trial weld, prepare or remove the defect, repair, and retest.
Overheating can slip past peel and shear tests. In Rowe and Francey's 2018 study, overheated HDPE welds showed visible ripples and greater antioxidant loss, yet every weld passed. Visual inspection still matters.
Wrinkles, Fishmouths, Poor Overlap, or Misalignment
- Problem: Folds get trapped in seams, create leak channels, add stress, and throw off welder tracking.
- Cause: Poor layout, wind, too little ballast, uneven subgrade, excess tension, or welding before panels relax. Panels laid at different temperatures also end up different lengths.
- Fix: Reposition only if the procedure allows. Cut and repair fishmouths with an approved detail, then inspect and retest.
Punctures, Contamination, or Failed Details
- Problem: Damage at pipe boots, sumps, corners, and trenches, plus leaks from dirt, moisture, or incomplete extrusion.
- Cause: Sharp subgrade objects, dragging, poor housekeeping, wet or oxidized surfaces, poor abrasion, bad patch geometry, or movement at interfaces.
- Fix: Mark and document the spot, remove contamination or damaged material, install a compatible patch, test it, and protect it.
Pro Tips for HDPE Liner Welding and Geomembrane Installation
- Sequence around weather. Deploy only what the crew can stabilize and weld. Protect seams from rain and traffic. Repeat trial welds when conditions change. Don't rush cover before testing is done.
- Reduce field seams with prefabrication. Factory-welded panels cut field seaming and handling. Plan early for panel size, transport, lifting, access, layout, anchors, and storage.
- Specify large factory panels. Western Environmental Liner fabricates custom panels up to 300' x 300' and one-piece liners up to 150,000 square feet. Turnkey installation as an IAGI Certified Installer can limit field seaming to pipe-boot details.
- Keep records and bring in specialists. Maintain seam maps, calibration logs, and inspection sign-off. Hire a qualified installer for large areas, complex penetrations, steep slopes, regulated work, or when warranty and CQA documentation are critical.

Conclusion
HDPE liner performance depends on the whole installation system, not just the material. A sound subgrade, careful deployment, qualified welding, correct details, safe practices, and verified seams all contribute.
Plan against the project specification, use trained installers and calibrated equipment, document every weld and repair, and finish validation before the liner is covered or put into service.
Frequently Asked Questions
How much does an HDPE liner cost?
Cost depends on thickness, material spec, project size and geometry, fabrication, field welding, site prep, access, testing, and freight. Request a project-specific quote rather than relying on a generic price.
Can HDPE be welded together?
Yes. Compatible HDPE panels can be thermally welded. Automatic fusion welding suits long seams, while extrusion welding handles repairs, penetrations, corners, and details.
What are the three types of fusion welding?
Geomembrane crews commonly cite hot-wedge fusion, extrusion, and hot-air welding. They don't all work the same way: wedge and extrusion are the primary polyethylene seaming methods, while hot air mostly handles tacking, preheating, and detail work.
How thick should an HDPE pond liner be?
It depends on pond size, subgrade, liquid exposure, UV, loading, and protection layers. For reference, NRCS standard 521 sets minimums of 30 mil for clear water and 60 mil for wastewater, but engineer and manufacturer requirements still apply.
What's the difference between LDPE and HDPE pond liners?
LDPE-type liners (usually LLDPE in geomembranes) are more flexible and conform to irregular subgrades. HDPE is stiffer, with strong chemical resistance. Both weld thermally, so check project-specific material data before choosing.
Which is better, HDPE or EPDM pond liner?
Neither wins everywhere. HDPE suits welded seams, chemical resistance, and engineered containment. EPDM suits projects needing flexibility and conformability, and it typically uses tape seams. Compare site, liquid, design life, installation method, and budget.