
The stakes are real. In a GSI damage compilation of 4,194 recorded liner damages, stones caused 71% and equipment 16%. Welds accounted for just 6%. Most problems start before and after welding, not during it.
Owners and general contractors can coordinate the job. Panel welding, penetrations, quality control, and specialized testing belong with trained technicians. This guide covers preparation, placement, seaming, validation, and troubleshooting.
Key Takeaways
- Follow this order: material review, subgrade, deployment, anchoring, seaming, testing, protection, documentation.
- The subgrade must be smooth, clean, and dry before any liner goes down.
- Control weather, traffic, wrinkles, penetrations, and seams to protect liner performance.
- Never cover or commission the liner until testing, repairs, and sign-off are done.
Installation Guide for Geomembrane Liners
The job breaks into preparation, placement, integration, and validation. The exact method depends on liner material, containment use, site geometry, slopes, project specifications, and whether panels are factory-fabricated or seamed in the field.
Timelines vary too. Liner area, access, weather, welding volume, penetrations, and coordination with earthwork all move the schedule.
Treat any universal timeline with suspicion. Western Environmental Liner, for example, tells customers to allow roughly 3–4 weeks for fabrication and installation coordination, but that is a planning figure, not a rule.
Prerequisites and Safety Considerations
Before mobilizing, confirm the approved design and materials:
- Contained liquid, exposure, liner type, and thickness
- Chemical compatibility
- Slopes, anchor details, and drainage features
- Penetrations and any cover system
- Applicable federal, state, or program requirements
Requirements differ by authority. Subtitle D landfill rules require a 60-mil HDPE minimum only under the prescribed composite-liner option (40 CFR 258.40). That is not a general pond minimum. Follow your engineer, state criteria, and manufacturer.
Subgrade acceptance criteria:
- Stable, shaped, smooth surface
- No rocks, roots, debris, ruts, voids, or sharp protrusions
- No standing water, mud, or excess moisture
- Re-inspect immediately before deployment, since vehicles, weather, and other trades damage good subgrades
Western Environmental Liner recommends 6 inches of compacted bedding above the highest obstruction when the subgrade can't be made smooth. Where wildlife or livestock are a concern, use at least 12 inches of compacted backfill; otherwise 4 inches is sufficient. Subgrade work itself is earthwork, handled by your excavation contractor.

Safety controls to review:
- Excavations and anchor trenches
- Lifting and rigging
- Welders and cutting tools
- Heat, traffic, and confined spaces
OSHA requires safe egress in trenches 4 feet or deeper and competent-person inspections.
Stop work when:
- The subgrade is unstable, wet, or contaminated
- Wind or rain is unsafe
- Materials are damaged or incompatible
- Drawings, equipment, test procedures, or qualified personnel are missing
Tools and Parts Required
Typical essentials:
- Lifting and deployment equipment
- Sandbags or other temporary ballast
- Measuring and marking tools, approved cutters
- Seam-welding equipment and test-weld materials
- Seam-testing equipment (air pressure, vacuum box)
- Repair patches and prefabricated pipe boots
- PPE and documentation forms
Welders, testers, and repair materials must suit the liner. Hot-wedge and extrusion welders fit polyethylene; reinforced or EPDM sheets use different methods. Don't substitute without sign-off from the manufacturer, engineer, or qualified installer.
How to Install Geomembrane Liners Step by Step
Follow a panel layout and seaming plan. Dragging material, skipping test welds, or covering untested seams creates failures you can't see.
Preparing the Installation Site
- Verify geometry. Check grades, slopes, drainage paths, anchor trenches, terminations, sumps, and outlets.
- Correct the surface. Remove debris, fix soft spots and sharp projections, and add geotextile cushion where designed. Western Environmental Liner supplies 8-, 12-, or 16-ounce geotextile; 8-ounce is the most common.
- Inspect deliveries. Check roll or panel identification, damage, contamination, and dimensions. Store on a prepared surface and avoid cuts, folds, and long exposure.

Positioning and Securing the Liner
Deploy according to the approved layout. Federal specifications call for deploying only what can be anchored and seamed that day. Anchor at the slope top, and orient seams parallel to the maximum slope (UFGS 02 56 13.13).
- Don't drag, overstretch, or fold the membrane
- Allow the material to relax, and control wrinkles and slack
- Use sandbags against wind, never anything that cuts or punctures
- Don't bridge voids or low spots
Anchor as specified. Western Environmental Liner's guidance calls for an earthen trench at least 1 foot deep by 1 foot wide, with the liner laid relaxed in the trench. Concrete terminations use batten strips with screws normally drilled 2.5 inches deep. Never improvise anchoring on slopes or around structures.
Integrating Panels, Seams, and Penetrations
- Choose the seaming method for your material and conditions
- Run test welds before production seaming; UFGS requires them at least every 4 hours per seamer and apparatus
- Keep overlap, temperature, pressure, and speed within spec (IAGI suggests at least 3 inches for HDPE/LLDPE)
- Keep dirt, moisture, and wrinkles out of the weld zone
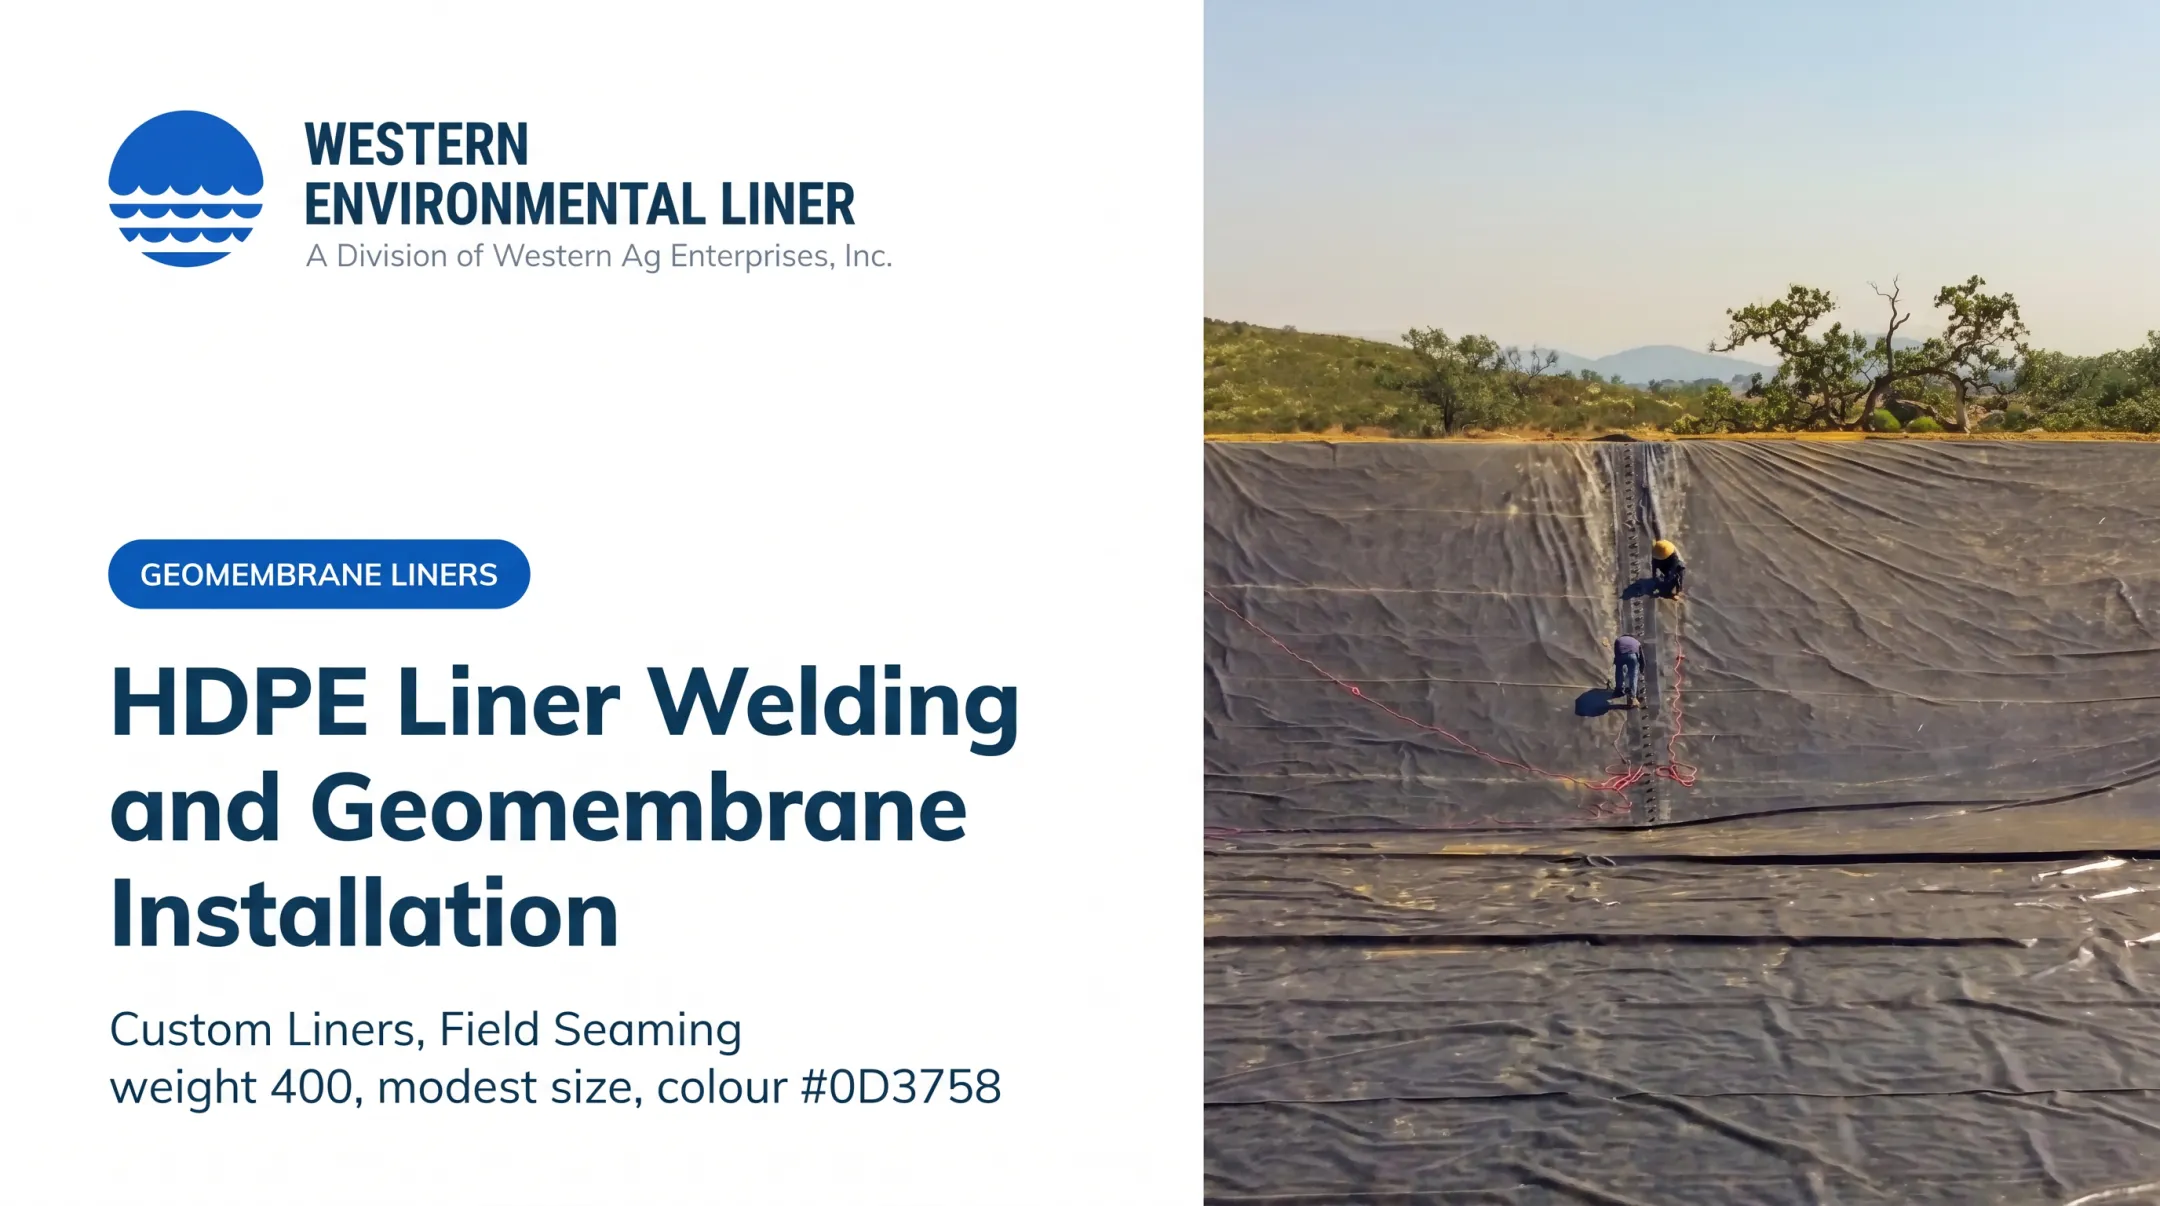
Factory fabrication helps here. Most Western Environmental Liner products are prefabricated into large panels, with most seams welded in a controlled, largely indoor environment. A one-piece liner may need no field seaming except pipe boot details.
Penetrations need prefabricated boots sized to each pipe's outside diameter. Detail corners, drains, and elevation changes so the liner isn't pulled off the subgrade or stressed at the connection.
Place any soil, aggregate, concrete, or drainage cover only after the liner and seams are inspected and approved. Use equipment that won't displace or puncture the membrane.
Post-Installation Checks and Validation
Inspect visually for tears, holes, wrinkles, bridging, displaced ballast, damaged anchors, poor terminations, and unsealed penetrations.
Then test, and keep the layers distinct:
- Non-destructive tests (air channel, vacuum box, spark where applicable) check seam continuity. ASTM D5820 air-channel testing does not measure strength.
- Destructive peel and shear tests check strength. Frequency is project-specific: one per 750 ft in UFGS, one per 150 lineal meters in one manufacturer's QA program.
- Electrical leak location can survey the whole sheet, exposed or covered, since seam tests don't catch punctures elsewhere.
Mark, repair, and retest every failed or questionable area before covering. Record results, repairs, weather, panel and seam locations, inspections, and final approval.
This isn't paperwork for its own sake. Historical GSI data shows exposed liners averaging 22 leaks per hectare without independent construction quality assurance versus 4 with it. Defects under cover or fluid are far harder and costlier to find.
Common Installation Problems and Fixes
Use this as a troubleshooting reference. Significant damage, failed tests, or suspected leakage should go to the responsible engineer, manufacturer, or qualified installer.
Wrinkles, Bridging, Uplift, or Trapped Air
Common causes include:
- Uneven subgrade or poor placement
- Thermal movement (solar-heated HDPE expands noticeably, so some projects place it at night)
- Wind, trapped gas, or too little ballast
Fix: Stop work, correct the cause, then relax or reposition the liner without forcing it. Add ballast or venting where designed, and reinspect before seaming or covering.
Weak, Contaminated, or Failed Seams
Typical causes include:
- Bad weather, dirty or wet surfaces, or short overlap
- Wrong welder settings or equipment trouble
- Unqualified crews
Western Environmental Liner identifies field welding as one of the leading causes of liner failure, which is why the company factory-welds panels whenever possible.
Fix: Mark the area, repair it by an approved method, retest, and document it. Never just cover a failed seam.
Punctures, Tears, Displaced Panels, or Damaged Penetrations
Common sources include:
- Sharp subgrade features, dragging, or unauthorized vehicles
- Poor lifting, excess tension, or rushed work near pipes
Repair steps:
- Isolate the area and assess the damage.
- Install an approved patch or detail. UFGS calls for a rounded, same-material patch extending at least 6 inches past the defect.
- Retest the repair.
- Fix whatever caused the damage.
Pro Tips for Installing Geomembrane Liners Effectively
- Plan around weather. Place only what can be anchored, seamed, inspected, and protected in a day. Western Environmental Liner advises against installing on windy or rainy days if at all possible.
- Control traffic. Limit foot and vehicle traffic, protect the liner from tools and debris, and finish earthwork, pipework, and electrical work before the membrane is exposed.
- Consider factory panels. For large or irregular projects, fabricated panels cut field seams and time. In a Columbus, Ohio reservoir study, 0% of factory seams failed initial shear acceptance versus 24.5% of field seams. That's one project, not a universal leak rate. Western Environmental Liner fabricates panels up to 300' x 300' (one-piece liners to 150,000 sq ft) and offers turnkey installation or a supervisor for field seaming. Plan on a crew of at least 6 people when field seaming is supervised this way.
- Vet your installer. Ask for relevant project experience, material-specific welding capability, QC procedures, test records, insurance and safety documentation, and warranty terms. IAGI certifies individual welding technicians (CWT), not whole companies, so ask who will actually weld. Western Environmental Liner is an IAGI Certified Installer.
- Keep records. Retain panel maps, seam logs, repair records, test results, and sign-offs.

Conclusion
Liner performance depends on the whole system: suitable design, accepted subgrade, careful deployment, secure details, dependable seams, and documented validation. The membrane alone isn't enough.
Prepare thoroughly, follow material and project specifications, stop when conditions are wrong, and use qualified specialists for welding, penetrations, testing, and acceptance.
Frequently Asked Questions
What is the cost of geomembrane per square foot?
It varies with material, thickness, project size, fabrication, site preparation, anchoring, seaming, testing, freight, and installation. Liner-only pricing differs from a complete installed estimate, so request a project-specific quote.
What is a geomembrane used for?
Geomembranes form impermeable barriers for water storage, irrigation ponds, wastewater and waste containment, industrial and energy sites, canals, lagoons, stormwater systems, and recreational water features.
How long does geomembrane liner installation take?
It depends on area, geometry, access, subgrade readiness, prefabrication, weather, seaming, testing, and cover work. Get a project-specific schedule rather than relying on a universal estimate.
Can I install a geomembrane liner myself?
Small, simple jobs may involve owner coordination. Large or engineered systems generally need trained crews for handling, welding, penetrations, testing, safety, and warranty compliance.
How are geomembrane seams tested?
Crews use visual inspection, test welds, and non-destructive testing such as air-channel or vacuum-box methods. Destructive or independent testing applies when specified. Failed areas are repaired and retested before covering.
What is the best material for a geomembrane liner?
There's no universal best. Choose based on the contained liquid, chemical compatibility, UV exposure, temperature, flexibility, slope, puncture risk, and the manufacturer's and engineer's specifications.