Projects that rely on pit liners—such as hydraulic fracturing sites, irrigation basins, and wastewater storage zones—can’t afford downtime. Tears, seam gaps, or punctures in the liner disrupt operations, invite contamination, and cost time and resources to fix.
Quick action preserves containment integrity and keeps water management compliant with state and federal regulations. Every team managing pit containment must know how to assess liner damage, match materials, and complete repairs without sacrificing performance.
Identify the Damage Location and Severity
Field technicians must conduct a comprehensive inspection using pressure tests, surface walks, and soil monitoring to reveal all areas of weakness. Tears commonly hide near seam welds or anchor points where shifting substrates and wind tension stress the material. Teams need to confirm the size and shape of the damage because a long surface scrape requires a different approach than a concentrated puncture.
Always document damage locations using grid markers, photos, and repair logs to avoid failures during repair. Mapping the compromised areas allows faster mobilization of patch equipment and helps prioritize repairs by severity and location. To repair a damaged pit liner quickly and efficiently, work crews must identify every source of water loss before patching begins.
Choose the Right Liner Patch Materials
The repair process depends heavily on matching patch materials to the original liner’s chemical structure, UV resistance, and thickness. PVC and XR-5 liner systems each respond differently to adhesives, so using incorrect bonding agents weakens the repair.
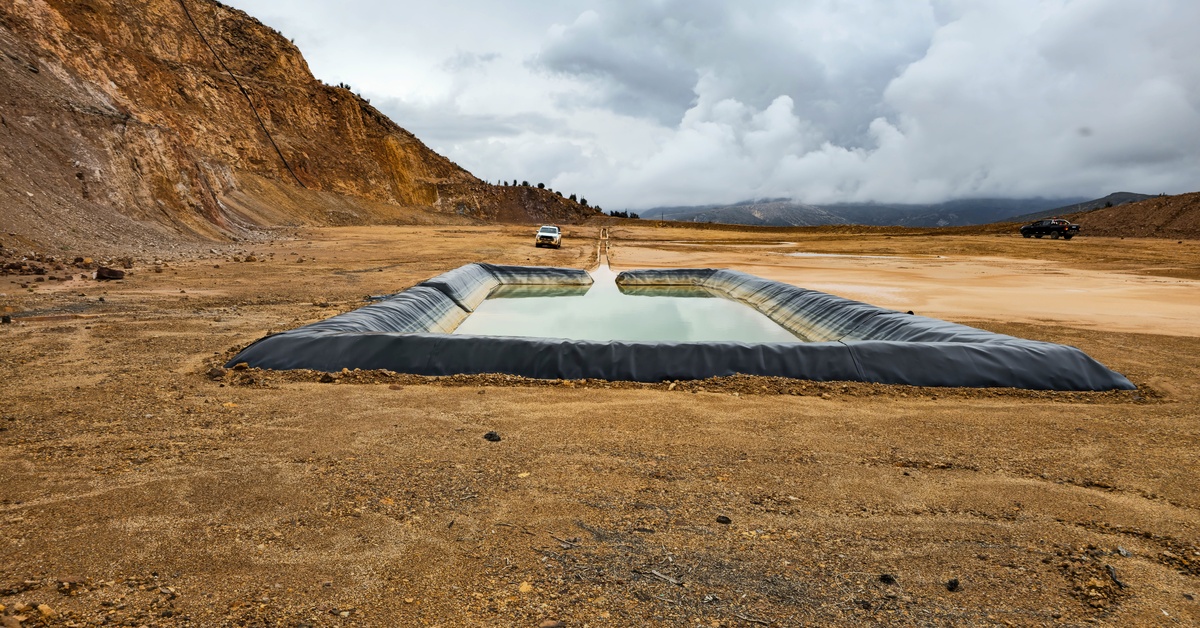
At Western Environmental Liner, we provide frac pit liners that protect project sites from leakage and prevent contamination of surrounding environments. Our team supports fast delivery and consultation when damage needs immediate containment. Crews that need to repair a damaged pit liner quickly and efficiently must keep compatible adhesives, edge tape, and reinforcement mesh on hand for emergency use.
Prep and Clean the Affected Area Thoroughly
Before applying any patch, crews must clean and dry the liner using nonabrasive cleaners designed for industrial-grade membranes. Contaminants such as oils, sediment, algae, and chemical residue weaken the bond between the patch and the liner.
Mechanical abrasion with rotary brushes or pad sanders improves adhesion when the liner surface has become oxidized or brittle. Every square inch of the patch zone—including overlap edges—must remain free of moisture to prevent delamination after sealing.
Apply the Patch with Proper Field Techniques
Crews should cut patches with rounded corners and overlap the tear by at least three inches on all sides for maximum hold. Welded seams must receive uniform pressure with heated rollers or hand-held welders depending on site power availability. Adhesive patches need an even layer of bonding agent across the back and must remain under weighted pressure for the full cure period.
Monitor the Repair and Retest for Leaks
Once the patch cures, teams should test containment by refilling the pit to just below the standard waterline and watching for seepage or discoloration. Colored dye tests or pressure-based monitoring offer precise feedback if the area remains difficult to access. Testing should occur at multiple points around the patch to rule out seam migration or edge failure.
Revisit the repair site between 48 and 72 hours, and then again during the next full cycle of use. Documentation helps to confirm the fix holds under general stress.
Repairs that survive early cycles without signs of edge peel or liner lift typically remain stable for long-term use. Contact Western Environmental Liner for high-performance liner materials and expert advice that keeps your containment system operational under pressure.