
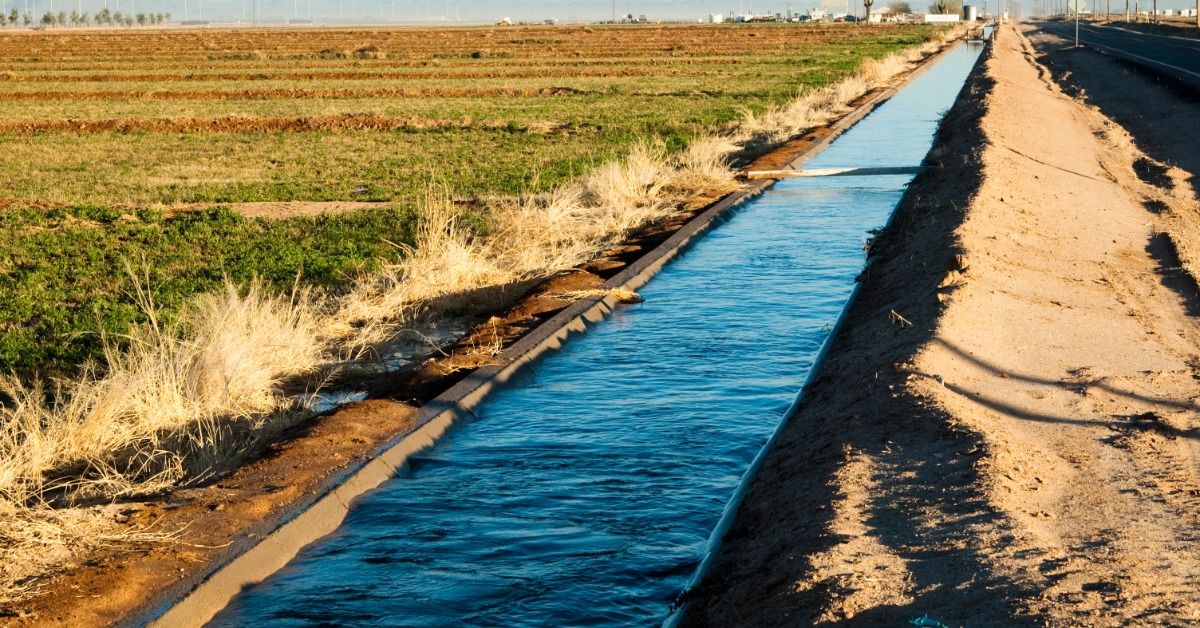
Water doesn’t take shortcuts just because a project schedule does. If an irrigation ditch follows the wrong grade or crosses unstable ground, crews can spend far more time fixing it than building it. Good planning keeps water moving toward the fields while giving the channel room to handle everyday operating conditions. Whether you’re laying out a new ditch or improving an existing one, a few practical dos and don’ts can save headaches during irrigation ditch planning.
Do Define What Your Ditch Must Carry
Start with the water delivery goal, not a rough idea of ditch size. How much water must reach each field during peak demand, and how will operators divide that flow along the route? An engineer can translate those answers into channel dimensions and check whether the supply matches the proposed irrigation schedule.
Consider how water moves through the system during a normal delivery and when operators adjust gates. A ditch that works at a modest flow may struggle during a busy watering period. Clear operating targets keep the design focused on actual use.
Don’t Pick a Route Based Only on Distance
Straight lines look efficient on a drawing, but the shortest line isn’t always the least expensive route. Walk the property and watch for soft ground and difficult crossings. Identify buried utilities before excavation and confirm access rights where the ditch runs near another parcel.
Think beyond the digging crew. Maintenance equipment will need a way back to the channel when crops grow or new structures appear. A slightly longer alignment may provide easier access and fewer conflicts over the life of the ditch.
Do Set Grades With Care
Gravity helps move irrigation water, but it requires the right grade. A channel with too little grade can encourage slow-moving water and sediment buildup. An excessive grade can create high velocities that damage vulnerable areas and complicate turnouts.
Have a qualified designer review the channel profile against expected flows and soil conditions. Account for elevation changes near takeoffs so farmers receive sufficient water where needed. A ditch that looks consistent isn’t necessarily hydraulically sound, especially when the route crosses varied terrain.
Don’t Neglect Soil and Bank Stability
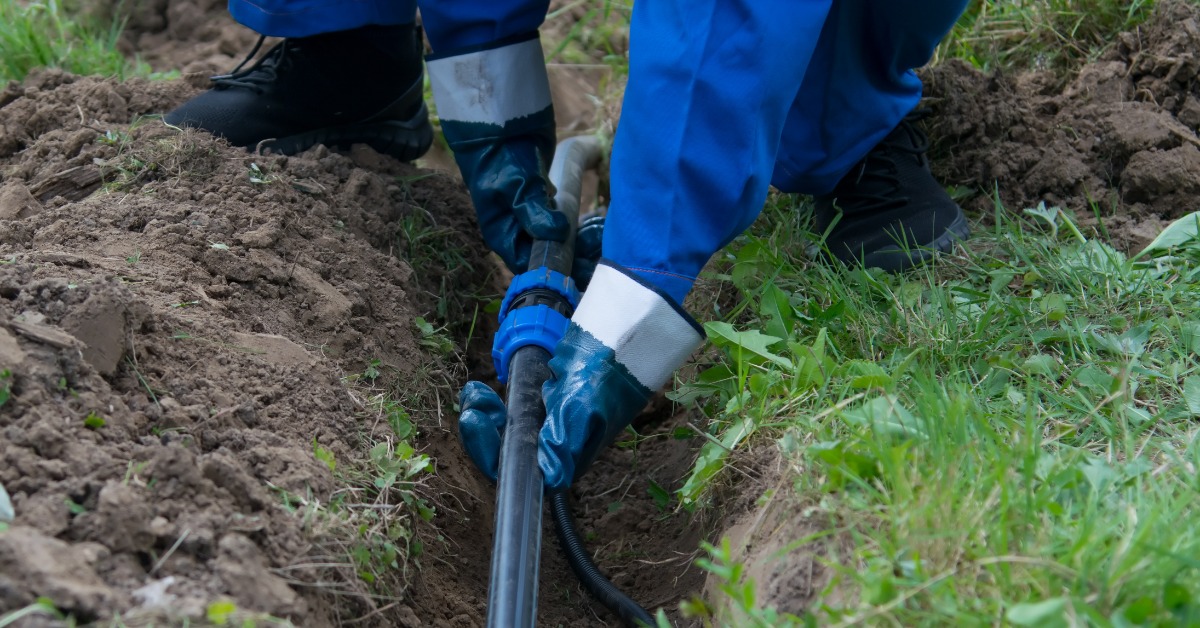
Look closely at what crews will excavate. Sandy ground may lose water through seepage, while weak banks can slump after water saturates the soil. Rocky sections may require extra subgrade preparation to prevent sharp contact with a liner.
Use site observations and appropriate geotechnical input to determine the side-slope geometry. Remove roots and protruding stones from the finished channel surface. Compact suitable fill per the project specifications, and address soft spots before placing liner material. A smooth surface can’t compensate for an unstable foundation.
Do Decide on Lining Early
Some irrigation projects require a liner to reduce water loss and protect the channel from erosion. Don’t wait until excavation is complete to make that decision. Liner selection shapes ditch geometry and edge anchoring plans long before installation.
When comparing drainage ditch liners, ask whether the proposed material suits your irrigation water and the conditions along the channel. Strength and flexibility both play a role, especially along long runs with curves. Western Environmental Liner offers custom-fabricated options that can cover large areas with fewer field seams, depending on the layout.
Don’t Leave Installation Details Until Delivery
The liner supplier needs accurate dimensions well before trucks arrive. Share the channel profile and discuss how crews will navigate changes in width or direction. Agree on panel layout and anchoring details before scheduling excavation’s final grading.
Crews need a clean subgrade and a workable staging area. They also need enough space to unroll panels without snagging the material on rough edges. Weather can change the plan quickly, so keep the channel free of standing water ahead of installation. Small preparations prevent expensive interruptions when the whole crew arrives.
Do Plan Turnouts and Crossings
Irrigation ditches do more than carry water in one direction. They must deliver it at useful locations. Map every turnout and crossing as part of the initial layout, then check that each structure fits the expected water level.
Pay special attention to transitions where water enters or leaves the channel. Fast-moving water may require suitable energy dissipation or bank protection to limit erosion. If operators use control structures to raise water levels, the designer must allow enough freeboard above the highest expected water surface. Don’t leave these connections for a contractor to improvise.
Don’t Ignore Rainfall Outside the Ditch
An irrigation ditch serves a planned water supply, but rain can add a very different flow. Runoff from neighboring slopes may carry sediment into the channel or wear away its banks. Walk the route after heavy weather, if possible, to spot areas where surface water concentrates.
Consider whether diversion features or properly designed crossings should carry runoff around the irrigation channel. Keep soil from nearby excavation stockpiles out of the waterway as well. Managing outside water protects the ditch’s capacity and reduces cleanup work during the growing season.
Do Make Maintenance Access Part of the Design
Picture the ditch several seasons after construction. Crews may need to clear sediment or service a turnout without shutting down nearby operations for days. Leave practical access along the route and identify safe equipment approaches where the banks allow them.
Plan how operators will inspect the channel during peak use. Look for places where debris could collect near crossings and where equipment may contact the liner during cleaning. Good maintenance planning also means recording the liner’s seam and anchor locations. Those details make later troubleshooting less disruptive.
Don’t Judge Options by the Initial Price
A lower quote can look appealing when a project covers a long distance. Yet the material price tells only part of the story. Compare installation labor and the likely maintenance demands before choosing a design.
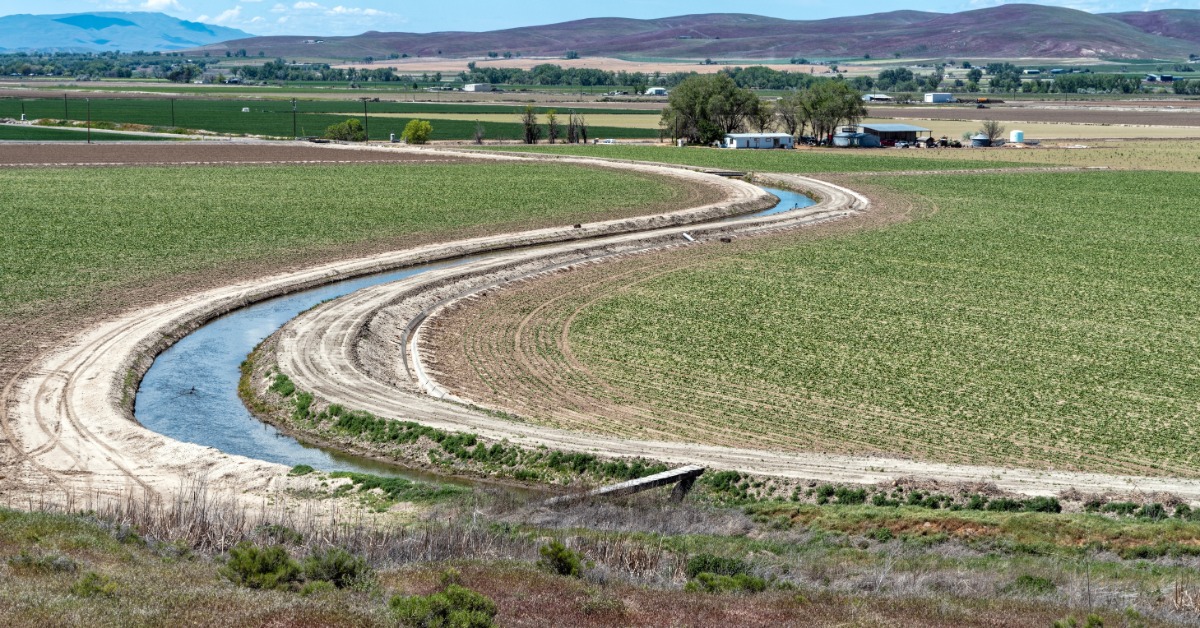
Ask suppliers how panel dimensions affect field work, especially if the route includes several bends. Larger prefabricated sections may limit on-site seaming, but equipment access still controls how crews handle them. Think about water losses and the cost of taking a ditch out of service for repairs. The best value supports the operating budget beyond construction.
Do Confirm Permits and Work Sequence
Talk with the water district or other relevant authority before breaking ground. Your project may need approvals for water diversion or land access. Local engineering requirements can also shape the finished ditch, so check them before committing to dimensions.
Match the construction schedule to irrigation demand whenever possible. If an existing ditch must stay operational, plan a temporary water delivery arrangement before crews cut off flow. Coordinate excavation and liner fabrication so the channel doesn’t sit exposed longer than necessary. Clear responsibilities help avoid last-minute changes that delay water delivery.
Build a Better Ditch From the Start
Strong irrigation ditch planning rarely depends on one big decision. It comes from matching the route to the water demand and building in room for installation and future upkeep. Give the channel a clear purpose before anyone starts digging, and you’ll make the rest of the project easier to manage. For help selecting a custom liner for a commercial irrigation ditch, contact Western Environmental Liner to discuss your site and request a quote.